

![]()
First off: I finally upgraded my phone from an iPhone X last week, and so the photographs will be even better looking than ever. I actually delayed making this recipe for one week specifically so I could get my new phone. When you see the final recipe dish at the end, I think you’ll agree that was absolutely worth it for how the colors just pop out of the image for the decorations and the Dango dish.
Second: This is the first time I’ve written Cooking Eorzea out in public. Normally, I always am piecing it together at my home while listening to music or with the television on in the background. Writing this column takes two to three hours to do, since I am constantly referencing back to the recipe and then looking through all the photos I took to pick the right ones for inclusion in this final piece you have before you.
Writing in public like this makes me feel like a professional. It is a stereotype of journalists banging out copy in a coffee shop or at the airport, but I cannot help but feel that imbibed into me some as I write this last little bit before I pass it over to my editor. Internally, Cooking Eorzea feels a lot like a personal, fun project that I started to help me deal with a break-up and a cross-country move, not something that I have written SIXTY entries of that is connected to a game I love.
With The Ultimate FINAL FANTASY XIV Online Cookbook Volume 2 coming out in October, I am excited that this column will keep going on in the foreseeable future and I hope you all stay with me on my journey into the world of cooking as I make it all with Love, Eorzean Style!
If you’ve missed an installment of Cooking Eorzea, you can check out all the prior recipes here.
Recipe of the Week
The 61st recipe out of the first volume of The Official FINAL FANTASY XIV Online Cookbook is a Dango recipe and it comes from the Hingashi region. This Vegan recipe has a difficulty rating of ‘Easy’, and I can honestly see from the steps that I have to follow to make this dessert dish.
It honestly doesn’t look too difficult, and I am going to be putting my bread making skills to use as I meld the different flavors into the dough balls to make the final dango balls. I just wish the recipe made more than four, as I would love to serve them to people as a dish for a party…
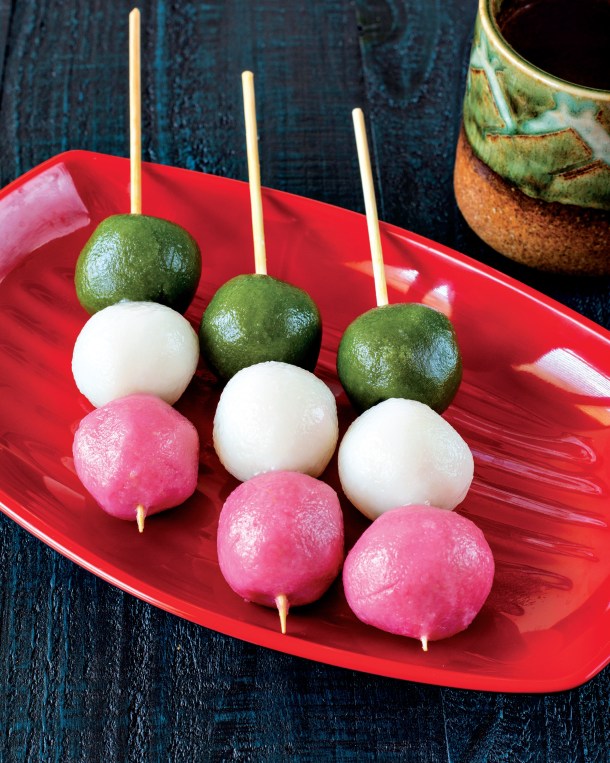
Here is what the final Dango dish is supposed to look like:
Featured Ingredient of the Week

Matcha is, and yet is not, green tea. It is finely ground powder that comes from tea leaves grown in the shade to help give it both the bright green color and strong flavor. It comes from Japan, and it has such a strong scent to it that there is no mistaking the real thing. I happen to love real matcha tea, and I was genuinely excited that I got to use it for this week’s Cooking Eorzea dish. There is not real matcha sold on the marketplace made from green dye, but you cannot replicate the flavor or the scent that way.
Thus, it was such an easy choice to make matcha my Featured Ingredient of the Week!
My Cooking Attempt
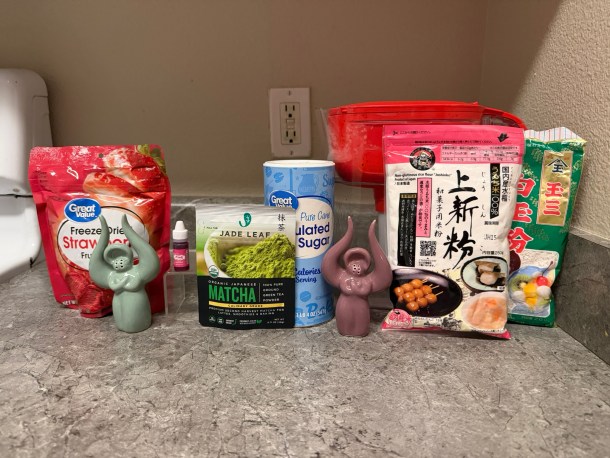
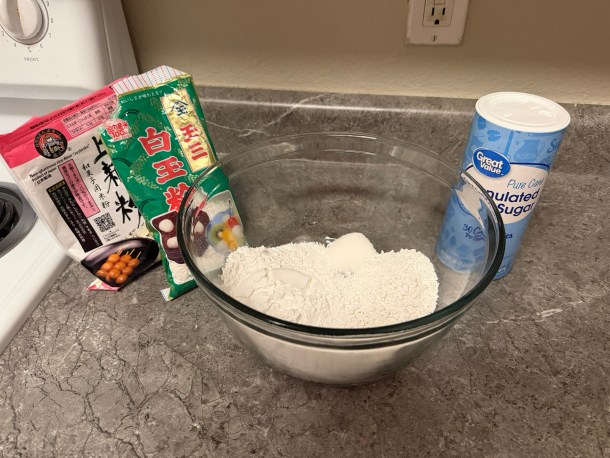
Here are all the ingredients I used to make this week’s Cooking Eorzea recipe:
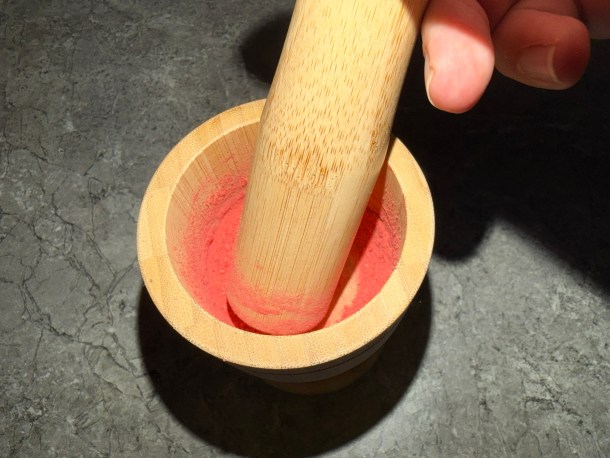
I measured out two tablespoons of freeze-dried strawberries before grounding them into a fine powder.

Setting aside the grinder, I measured out the joshinko rice flour and the shiratamako rice flour into a large bowl. The recipe called for an extra tablespoon of shiratamako rice flour for some reason, and so I topped off with that!
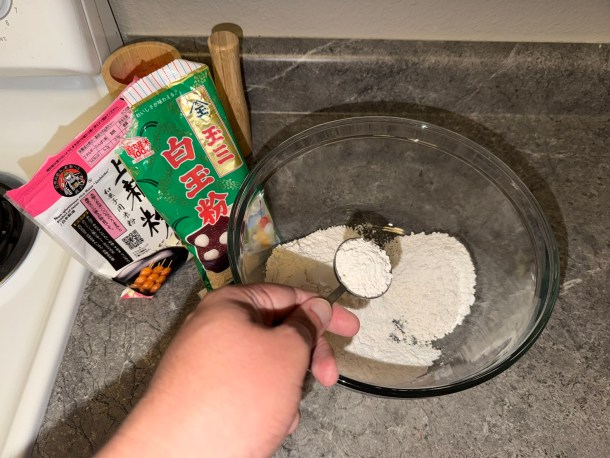
I then added a half-tablespoon of sugar to the bowl before blending it all together.
At this point, I heated up half a cup of water in the microwave until it was incredibly hot.

When the water was piping hot, I then filled up another bowl with water. One of the most important things about making dango is that you have to keep your hands wet at all times so the dough doesn’t dry out. All throughout the remaining parts of making and shaping the dango balls, I constantly was dipping my hands into the bowl to keep them wet.

I then added about half of the hot water into the dry mixture and worked it all together into a dough. As I kept mixing by hand, I added in a little more hot water each time until it was fully gone. The water was actually really hot, and I had a difficult time doing this. It made me wish I had gloves on, but then I wouldn’t be able to tell when my hands were too dry and that I need to re-wet them in the bowl.

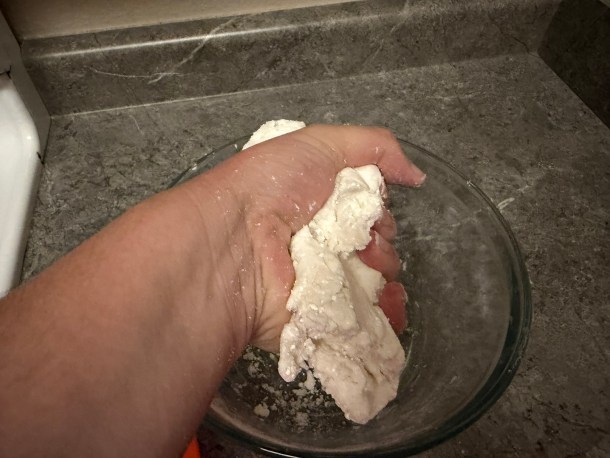
I kept wetting my hands and working the dough until it was in a smooth ball. Once I had it done, I split it up into three equal sized balls.
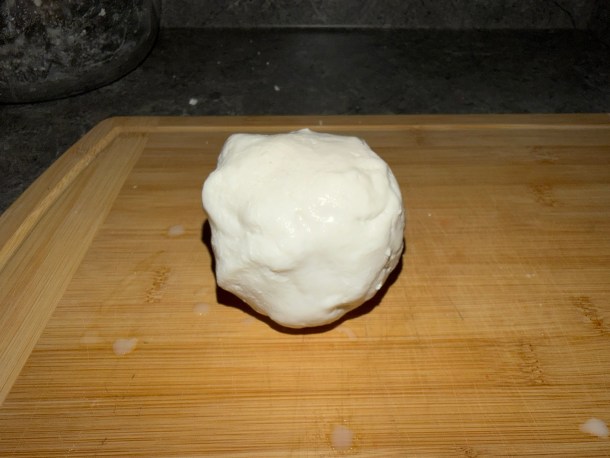

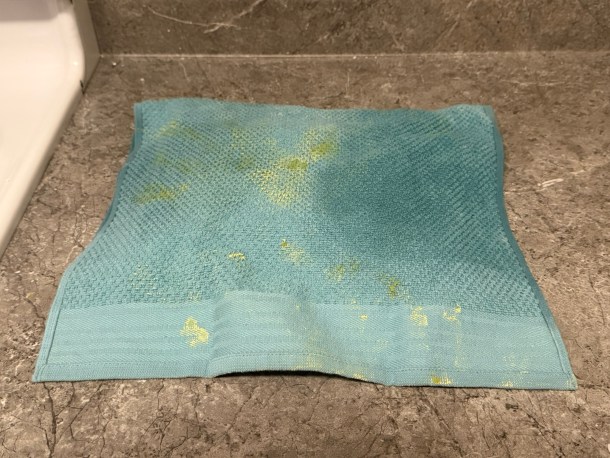
I covered up two of the balls with a damp kitchen towel to try to keep the dough balls from drying out.

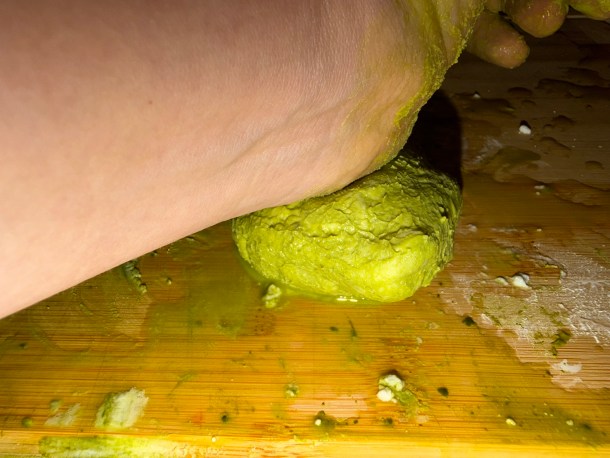
I then added in a teaspoon of matcha to one of the dough balls and kneaded it into the dough until it was thoroughly mixed in. I kept making sure my hands remained damp all throughout so the matcha wouldn’t dry out the dough ball.

Setting that matcha dough ball underneath the now-moved kitchen towel with one of the other plain dough balls off of the cutting/prep board, I dumped the ground freeze-dried strawberries out onto the third dough ball.
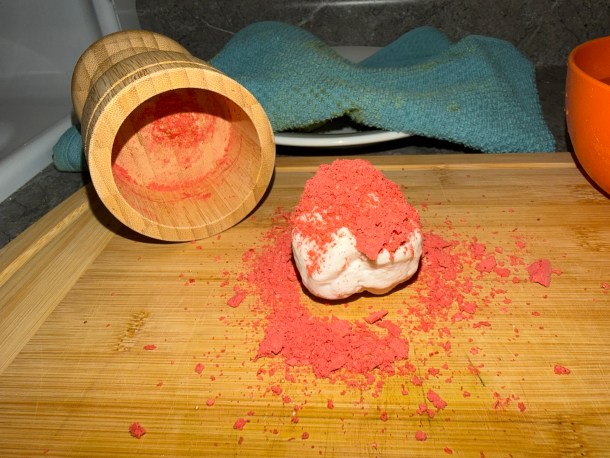
In order to help maintain the color, I added a single drop of pink food dye.

I then kneaded all of the ground strawberry powder into the dough ball, and I continually kept re-wetting my hands to make sure it doesn’t all dry out. This was a lot harder than the matcha ball to make sure the color distributes all the way through properly.

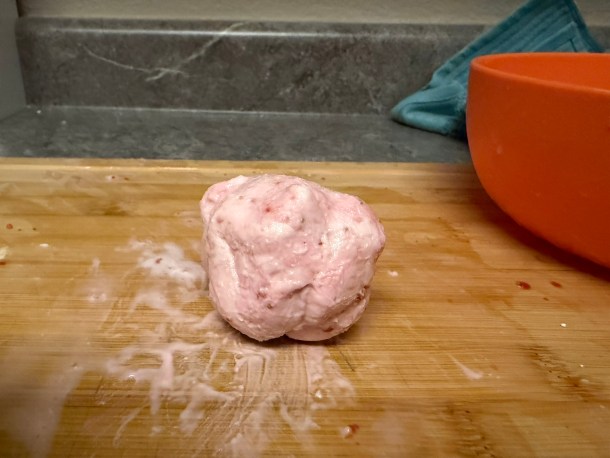
At this point, I had three dough balls of equal size all ready to go!

I then tore the three dough balls each into four roughly equal-sized pieces!
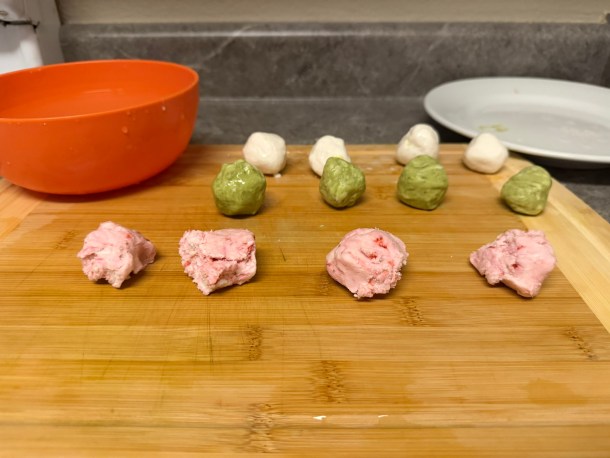
Re-wetting my hands again, I then rounded up each of the pieces into a smooth, almost completely round, ball.

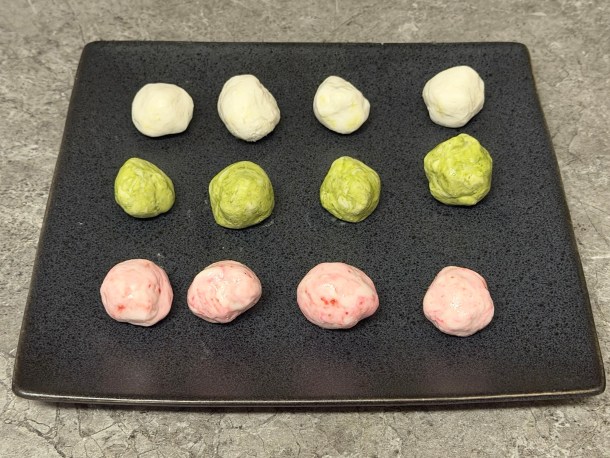
I then covered the dough balls with the flipped over damp kitchen towel that I first wetted on the newly covering side.
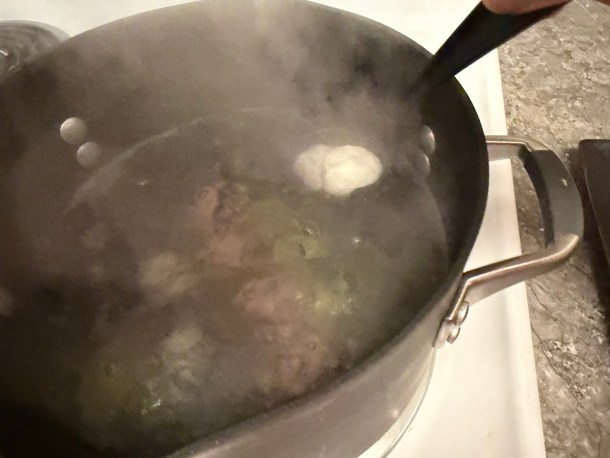
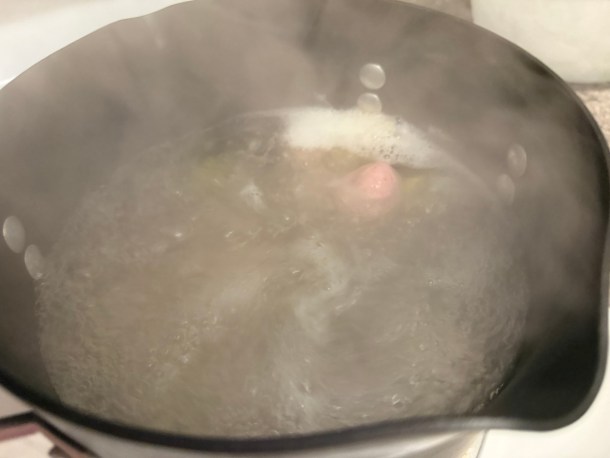
At this point, I realized I needed ice and so I had to dash off to the store nearby to get some. When I came back, I poured water into a pot, brought it to a boil, and then added the dough balls into the pot one or two at a time.

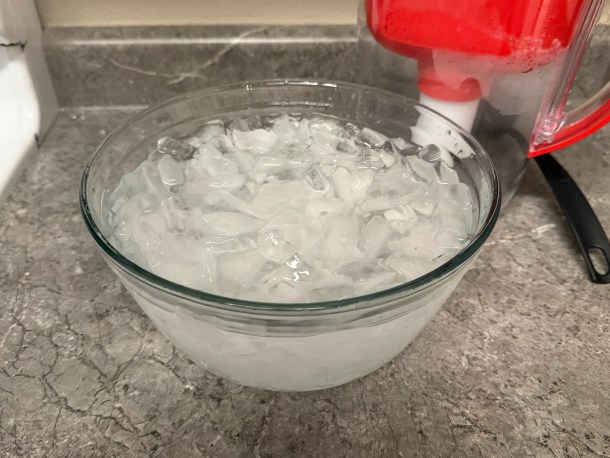
While they cooked for three to four minutes in the pot, I cleaned out the dough bowl and then filled it up with water and ice.
Once the dough balls began to float, I knew they were done. I carefully scooped them out of the boiling pot and then plunged them into the ice bath.
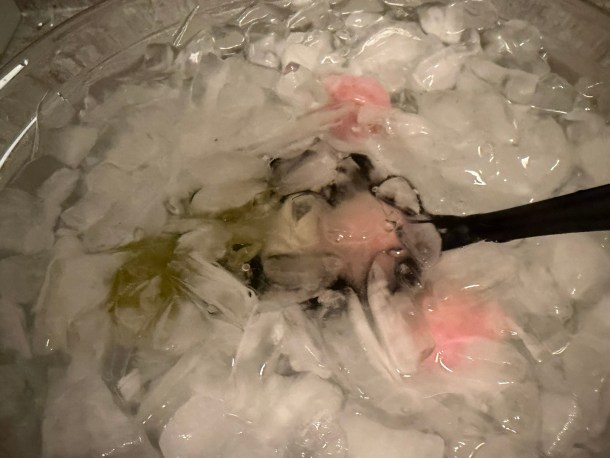
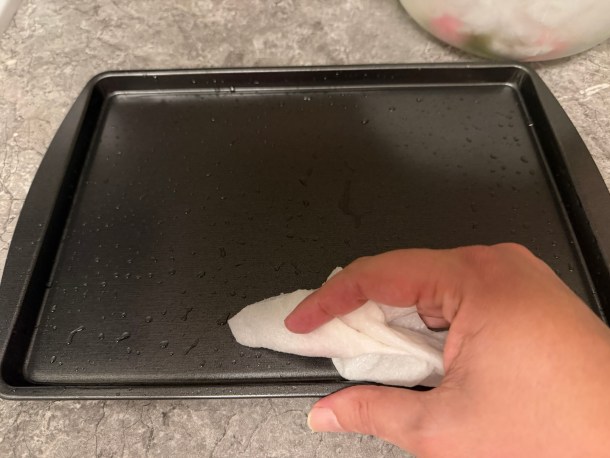
While the dango balls cooled down, I wiped down a baking sheet with water to make it damp so the dango balls wouldn’t dry out while waiting for the dango to be assembled.
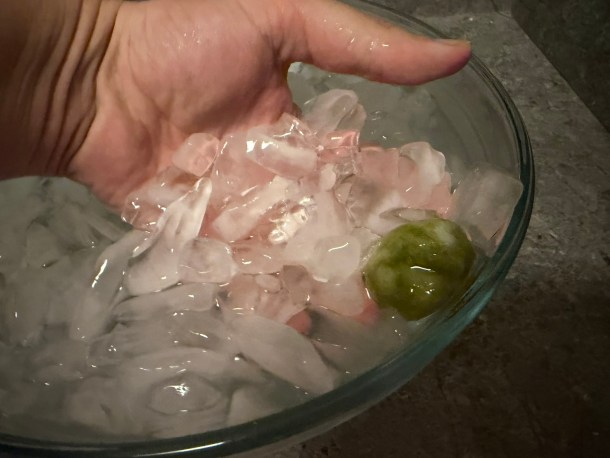
After a few minutes, I reached my hand into the ice water and that was a bad idea to do as I hunted around for dango balls to remove. I kept having to shake my hand to remove the cold after every few dango balls that I fished up.
Finally, I assembled the dango balls onto a bamboo skewer. I had a slightly hard time pushing them through the pointy end, but I managed to make it work. I first added the matcha dango ball, followed by the plain dango ball, and then finally the strawberry dango ball.

And here is this week’s Cooking Eorzea final dish for the Dango recipe!

The Dango had a surprisingly mellow flavor that I quite liked. I thought the matcha flavor really came through, and the strawberry flavor was a little less intense than I was hoping. The plain one tasted bland (as to be expected) and like rice. I was definitely chewing a lot! I really liked it, and it really felt appropriate for the ‘dog days’ of feeling like I’m still in the summer while in reality it is already autumn.
The accoutrements for this week are from the FINAL FANTASY XIV Hydaelyn Cafe in Shanghai, and they are meant to celebrate the Moon Festival (a/k/a mid-Autumn Festival) that is on October 6. The Moon Festival is a Chinese holiday celebrating the autumn harvest when the moon is at its largest and brightest, and people carry lanterns around to light a path towards prosperity and good fortune while people eat mooncakes.
I imported the Moon Festival boxed set last year, and I have been holding onto them for this particular Cooking Eorzea entry as I thought that they would be a great dessert plate display set! The whole kit is particularly beautiful in person, and the colors of the plate and of the box and image sheet really just pop. Plus, the Loporrits on it are a nice touch since they are associated with the moon in Endwalker. I thought they were simply too gorgeous to not want to save for when I had my new phone and therefore delay making Dango by a week.
Afterword
If I was to make Dango again, I would definitely not dunk my hands into the ice water to get the dango balls out. That was just a stupid mistake on my part, but one that I had fully committed to by that point. I would also grind up more than the two tablespoons of strawberries so that particular flavor would come out more in the final dish. I also think that would help make the pink pop out more like it did in the professional Dango photograph. Otherwise, I cannot think of too much that I would want to do here!
So. With another successful Cooking Eorzea attempt done, it is time to get into the ‘thank you’ section. First up, as always, I want to absolutely thank Victoria Rosenthal for writing The Ultimate FINAL FANTASY XIV Online Cookbook Volume 1. Sometimes I am driven crazy by trying to source the ingredients, but I wouldn’t have it any other way. I also want to thank everyone at Insight Editions for giving me permission to use the photos from their book to show how these recipes are actually supposed to look. I do not think this column would work as well as it does without their support. I also owe Brandon Rose a special thanks for creating the logo for Cooking Eorzea. You should check him and his works out over on X.
Finally, I want to thank both Hiromichi Tanaka and Naoki Yoshida for producing FINAL FANTASY XIV Online in both iterations of the game. It is hard to believe how much this game has played a role in my life since before 1.0, and at some point I seriously need to start leveling my in-game Cooking skill.
Next Time on Cooking Eorzea
There will be no column next week, unfortunately.
But when I come back the week after, there will be…Kupo Nuts! This looks like a genuinely fun and delicious recipe to make, and so I hope that you all will come back for that attempt!
What flavors do you like your Dango to be?
Have you ever been to the Hydealyn Cafe in Shanghai? What did you think of it?
Let us know in the comments below!


